Report Actions
There are seven report actions: Save, Save As, Delete, Schedule, PDF, Export to CSV, and Help.
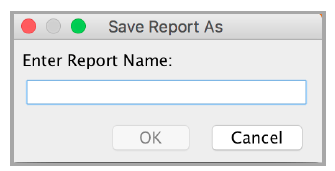
• Save – LiveNX brings up a dialog box. Enter a report name in the dialog box. The report will be saved under Custom Reports.
• Save As – after selecting a saved report for viewing, if you change any report attribute (e.g., time span, device, interface), you can create a new custom report by clicking on Save As and naming the report with a different report name.
NOTE: LiveNX will not allow you to save another custom report with the same report name.

• Delete – deletes a report. Select a report name under Custom Reports and click on Delete.
• Schedule – allows automatic generation and delivery of custom reports. Additional details can be found in the Report Scheduler section of this chapter.
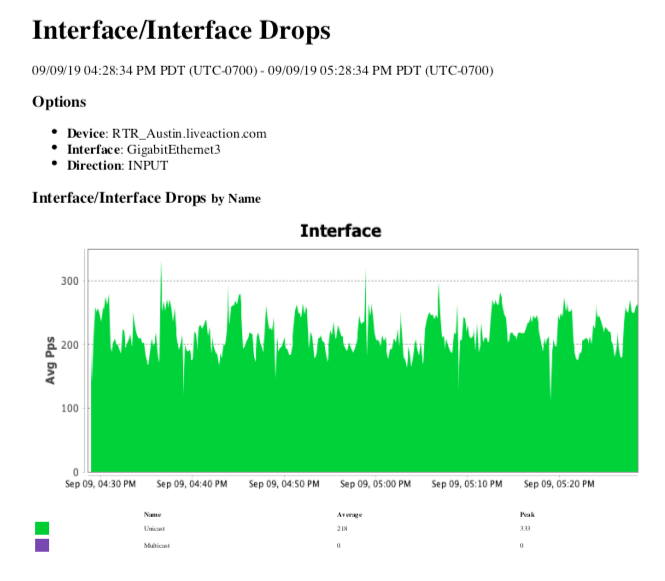
• PDF – allows creating and saving a PDF version of the report.

• Export to CSV – saves the report legend to a comma-separate value (CSV) file. The default file location where the CSV file will be saved to is the LiveNX Client desktop.
• Help – launches the LiveNX User Guide.