Capturing from a Capture Engine
You can select from the following options to capture packets from a Capture Engine:
• New Capture…: This option lets you create a new capture window based on the capture settings that you define.
• New “Forensics Capture”: This option lets you create a new capture window based on pre-configured capture settings optimized for post-capture forensics analysis.
• New “Monitoring Capture”: This option lets you create a new capture window based on pre-configured capture settings optimized to produce higher level expert and statistical data in a continuous capture.
• Edit Capture Templates: This option opens the Capture Templates dialog and allows you to create new or edit existing capture templates.
NOTE: For more information about each of the optimized capture formats, please see the Omnipeek User Guide or online help.
To begin a remote capture from a Capture Engine:
1. Do one of the following:
• On the Home tab, select the type of remote capture to perform by selecting New Capture under the Captures heading.
• On the Captures tab, select the type of remote capture to perform by clicking the small arrow next to .
• On the Adapters tab, select the type of remote capture to perform by selecting New Capture under the name of the adapter you wish to use.
The remote dialog appears.
2. Make any desired changes to the capture option settings.
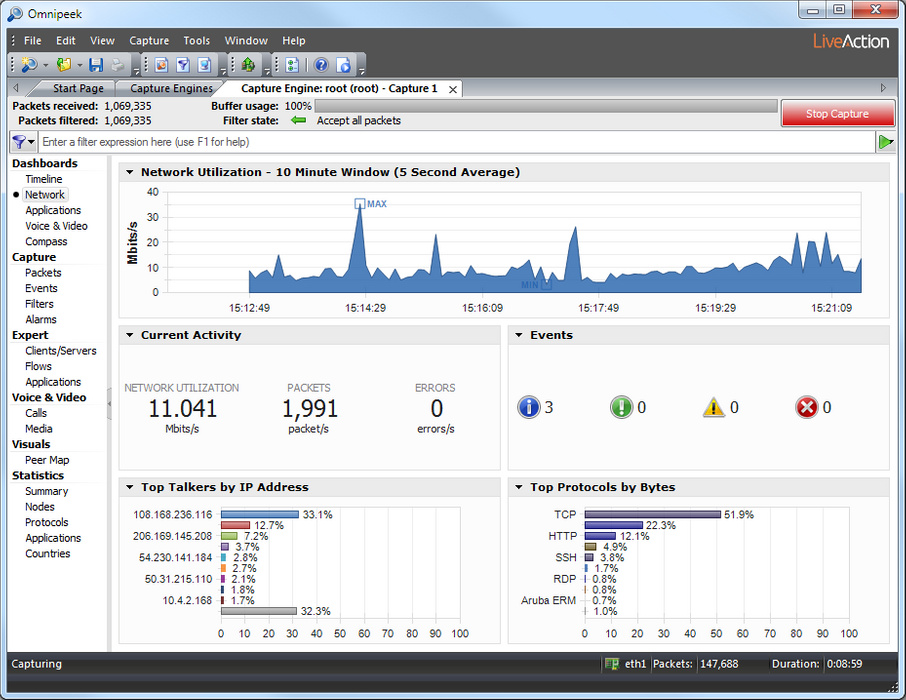
3. Click . A Capture Engine capture window appears.

NOTE: The views in the left-hand navigation pane that are available in a Capture Engine capture window depend on the type of Capture Engine that is connected, and the Analysis Options capture settings configured for that capture window. See the Omnipeek User Guide or online help for details on using the features available from Capture Engine capture windows.
4. Click to begin capturing packets. changes to
5. Click when you want to stop collecting packets into the remote capture buffer.