Manage Groups for Roles
NOTE: If you assign a group to any of the Access Control roles, third-party authentication must also be enabled. See Enabling Third-Party Authentication. Additionally, a valid Active Directory entry must be added and enabled as well.
To manage the groups assigned to a role:
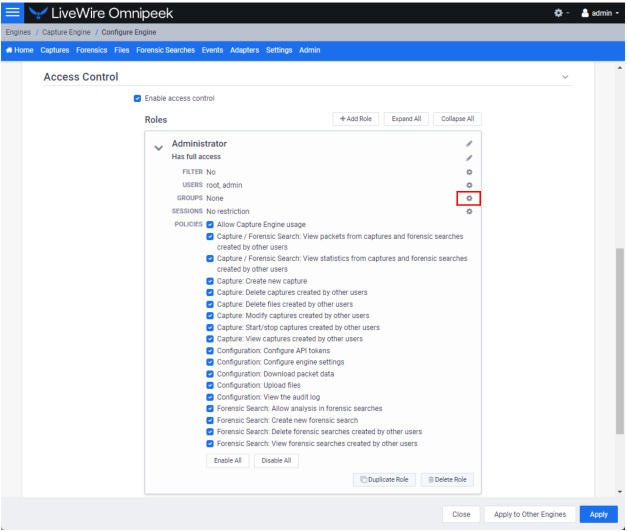
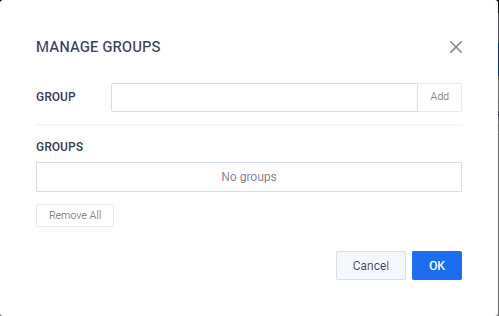
1. Click the Groups gear icon. The Manage Groups dialog appears.

2. Configure the groups.

◦ Group: Type in a group name to be added to a role. Click Add to add a group to the Groups list.
◦ Groups: Displays the groups added to the role. For each Active Directory group in the list, there are three buttons for the following:
◦ Validate: Click to validate the group exists in the Active Directory server supplied in third-party authentication.
◦ Users: Click to validate a given user is found in the Active Directory group; the Test User dialog appears.
◦ Remove: Click to remove the group from the list.
◦ Remove All: Click to remove all groups from the Groups list.